Quick way to install WordPress on localhost (XAMPP) server by step IADM student 2022
- Farwa Abid
- Jun 28, 2022
- 3 min read

Updated: Jul 13, 2022
This article will guide you, on how to install WordPress on a localhost server.
What is WordPress?
WordPress is an open-source CMS (content management system). It's an easy way to create websites n blogs for non-programmers.
Install WordPress on localhost
The following step to install WordPress is written below:
Test the server by starting the modules.
Install the latest version of WordPress on localhost.
Extract WordPress and place the file into XAMPP (doc)
Create the WordPress database.
Setup the WordPress configuration.
Install WordPress.
Step 1: Test the Server by Starting the Modules
First, we download XAMPP according to the bit of your system (32 or 64). You can download XAMPP from <ahref="https://www.apachefriends.org/download.html">XAMPP from Apachefriends</a> which is a localhost server. XAMPP server is required for the installation of WordPress. So, that we can install WordPress on XAMPP. After the installation and setup of XAMPP open the control panel and check whether these two modules are running or not. If their status is green, it means you can your localhost server.
Apache
MySQL

It shows that the database server is running which means localhost is set to work.
Step 2: Install the latest version of WordPress on Localhost
To install WordPress on window you have to open <ahref="https://wordpress.org/download/">WordPress.org/download</a> website and scroll down for further process. There you will find the button for the download.

Now download the latest version of WordPress.
Step 3: Extract WordPress and place the file into XAMPP (htdoc)
After the installation of WordPress on Windows. You will find a zip file of WordPress. Then extract the zip file of WordPress. And you will find a WordPress folder copy it and paste it to htdoc folder into XAMPP.

The extraction process of WordPress

Extraction Process of WordPress
After the extraction, you will find a WordPress folder copy the folder.

Copy the folder.

Open htdoc directories in the XAMPP file
Here you will see a WordPress folder.

When all this process is done. Rename the WordPress file according to your brand name. This name will become the name of your website

When renaming is done.
Step 4: Create the WordPress Database
You first need to start the XAMPP control panel. Open the browser and write localhost/phpMyAdmin in the tab as shown below;

The database of MySQL will appear on localhost/phpMyAdmin. Now you can create a database by clicking on new as shown,

Then you will see an option to create a database. Here you have to enter the name of your choice. And we can also say that you have to create it with the same name which you gave to the WordPress file. The name of the WordPress file and the name of the database should be exact the same if not you will find an error for further process. And just remember the name for the next step.

Type your favorite name and click the create button. When the database is created you will find your brand name in the sidebar as shown;

Step 5: Setup the WordPress configuration
When you have created the database, it's time for setup and WordPress configuration on the browser. For this first, open the tab and write localhost/yourbrandname/wp-admin for further process.

A tab for the selection of language will appear. So, select the language and press the continue button shown above in the picture.

Here it explains that you need a database by using phpMyAdmin, which have created. So, click the let’s go button for the next step.

Now enter the database name you created. Your username would be root and keep the password box empty. As shown above, then press the submit button. And a new bar will open with the button to run the installation. Now click on it for the next process.

Step 6: Install WordPress
After Running the installation a window will open where you have to fill in your information and install the WordPress. First, you have to write the site title of your choice. Now enter the username and password you want. At the end enter your email and press the install WordPress for further process.

Now, remember your username and password to login into WordPress. After the installation of WordPress, this page will appear.

Press the login button and after a few sec login pages will appear. Login the WordPress with the username and password you created before.
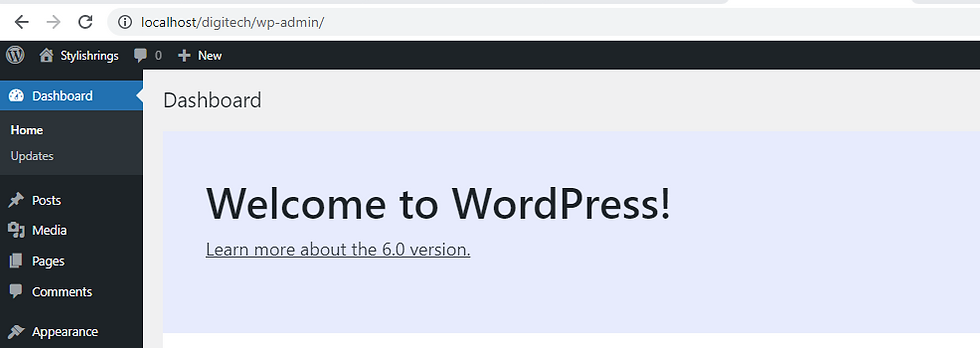
And Finally, the Dashboard appears. This shows your WordPress installation is completed. Congratulation, now you can work on WordPress.
Thank you

Comments